Image and video generation
Run Pruna-Qwen-Image-2.1 locally: choosing its 5- or 8-step adapter
Use 5 steps to sort through mug-scene candidates quickly; start with 8 when you need to judge the rim and handle in more detail.
When choosing a ceramic mug scene, use 5 steps to scan lighting and composition, then recheck the final candidate with 8 steps and the base model. Pruna-Qwen-Image-2.1 is not a standalone small model; it is a LoRA1 adapter applied to the existing Qwen-Image-2.1, and v0.1 quality is below the base model. This comparison uses a CUDA2 setup.
First choose the lighting and composition, not the final image
In short, use 5 steps to scan lighting and composition candidates, then check the rim and handle again at 8 steps. Consider a ceramic mug on a small table, comparing soft window light with a darker studio setup. If you also need to vary the background and camera angle, it is more useful to generate candidates for comparing light direction, framing and overall color before spending time polishing one image.
Pruna-Qwen-Image-2.1 is a LoRA adapter that adds weights on top of the base model. It was trained to generate images in fewer steps; this is not the same as simply lowering the base model from 40 to 8 steps. A step repeatedly updates the image representation that starts from noise, and this adapter uses either 5 or 8 steps. Its developer says the v0.1 quality is still below the base model’s, so candidate-generation speed and final-image quality need to be checked separately.
By step count alone, 8 steps use one-fifth as many denoising iterations as the 40-step base model, and 5 steps use one-eighth. This division compares iteration counts; it does not mean total generation time falls by 5× or 8×. Per-step compute, prompt encoding and image decoding3 also contribute to the job, and actual processing differs by GPU4. Treat faster candidate generation as a possible benefit, then check the time and image quality on the same computer.
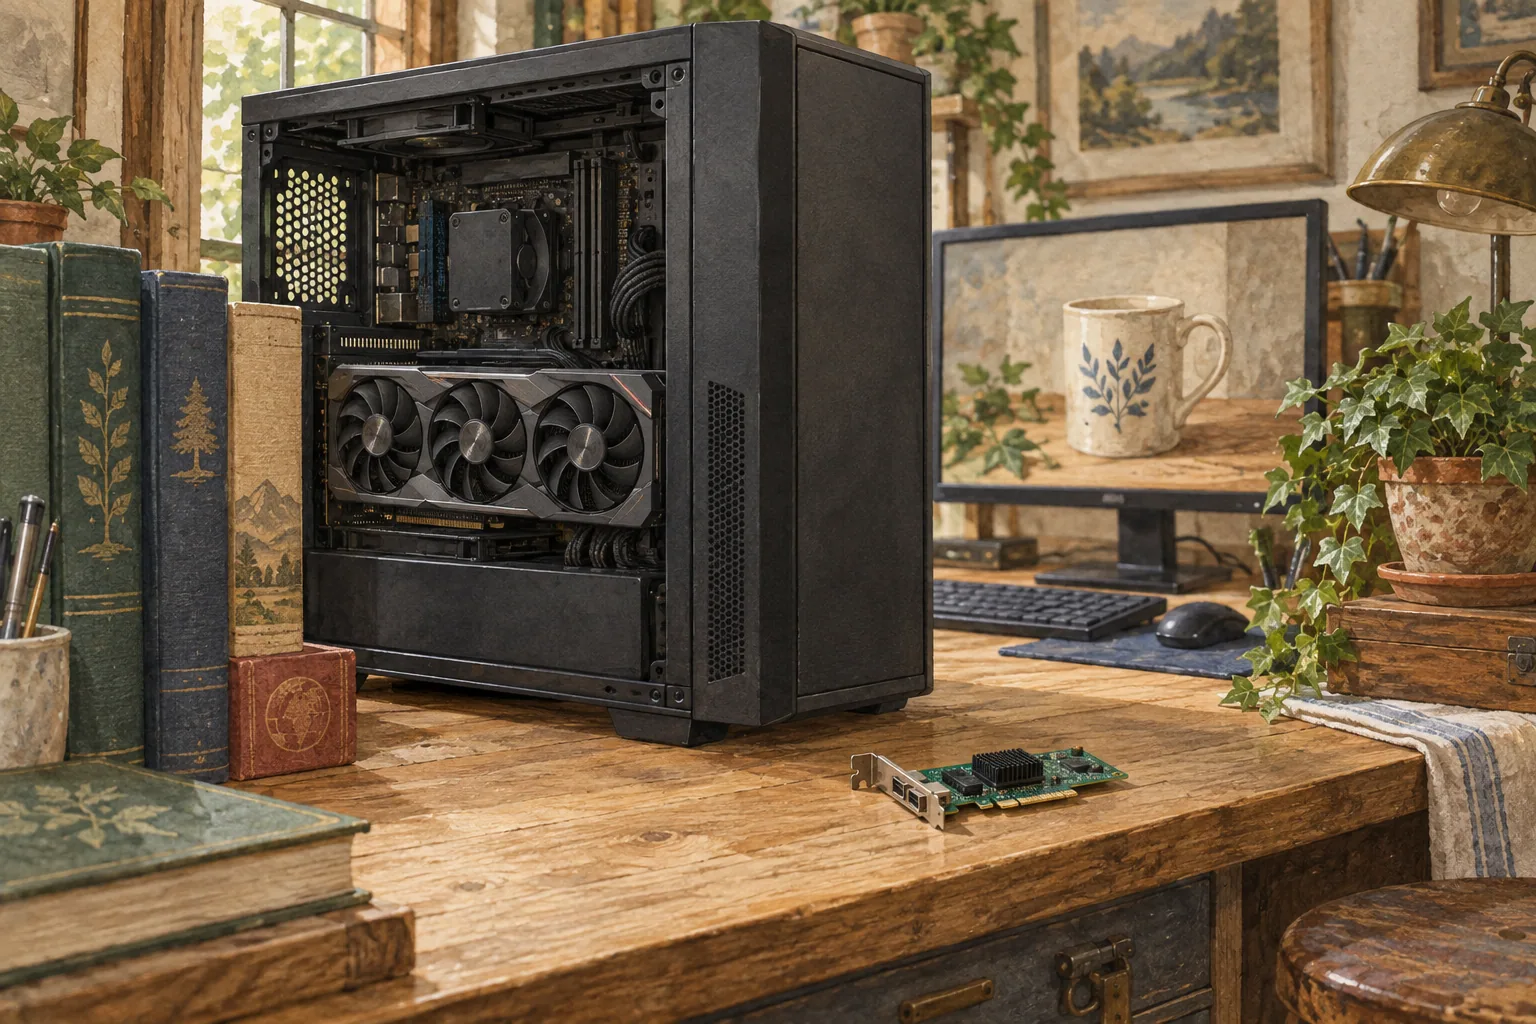
It is an adapter on the existing model, not a small checkpoint
Despite the Pruna name, you are not downloading a smaller standalone version of Qwen-Image-2.1. Load the original Qwen/Qwen-Image-2.1 checkpoint5 and apply the LoRA weights on top. The pipeline6 is the execution setup that connects the image-generation stages; the text encoder converts the prompt into a representation the model can process; and the VAE7 converts between the model’s internal representation and the final pixels. These components remain those of the base model.
Each adapter file is about 335.6 MB. That helps estimate the extra download, but it is not the total memory the GPU needs during image generation. The base weights, text encoder, VAE and intermediate working space—which varies with resolution—also use memory. So the file size alone cannot justify the conclusion that an 8 GB graphics card is enough. The model card does not establish a VRAM8 reduction or prove that the adapter will run on a smaller GPU.
The recipe assumes a CUDA GPU and non-commercial research or evaluation. Commercial use requires a separate license. First prepare enough memory and a CUDA setup to run the base model, then add the adapter. The illustrations in this guide explain the workflow; they are not Pruna-generated samples.
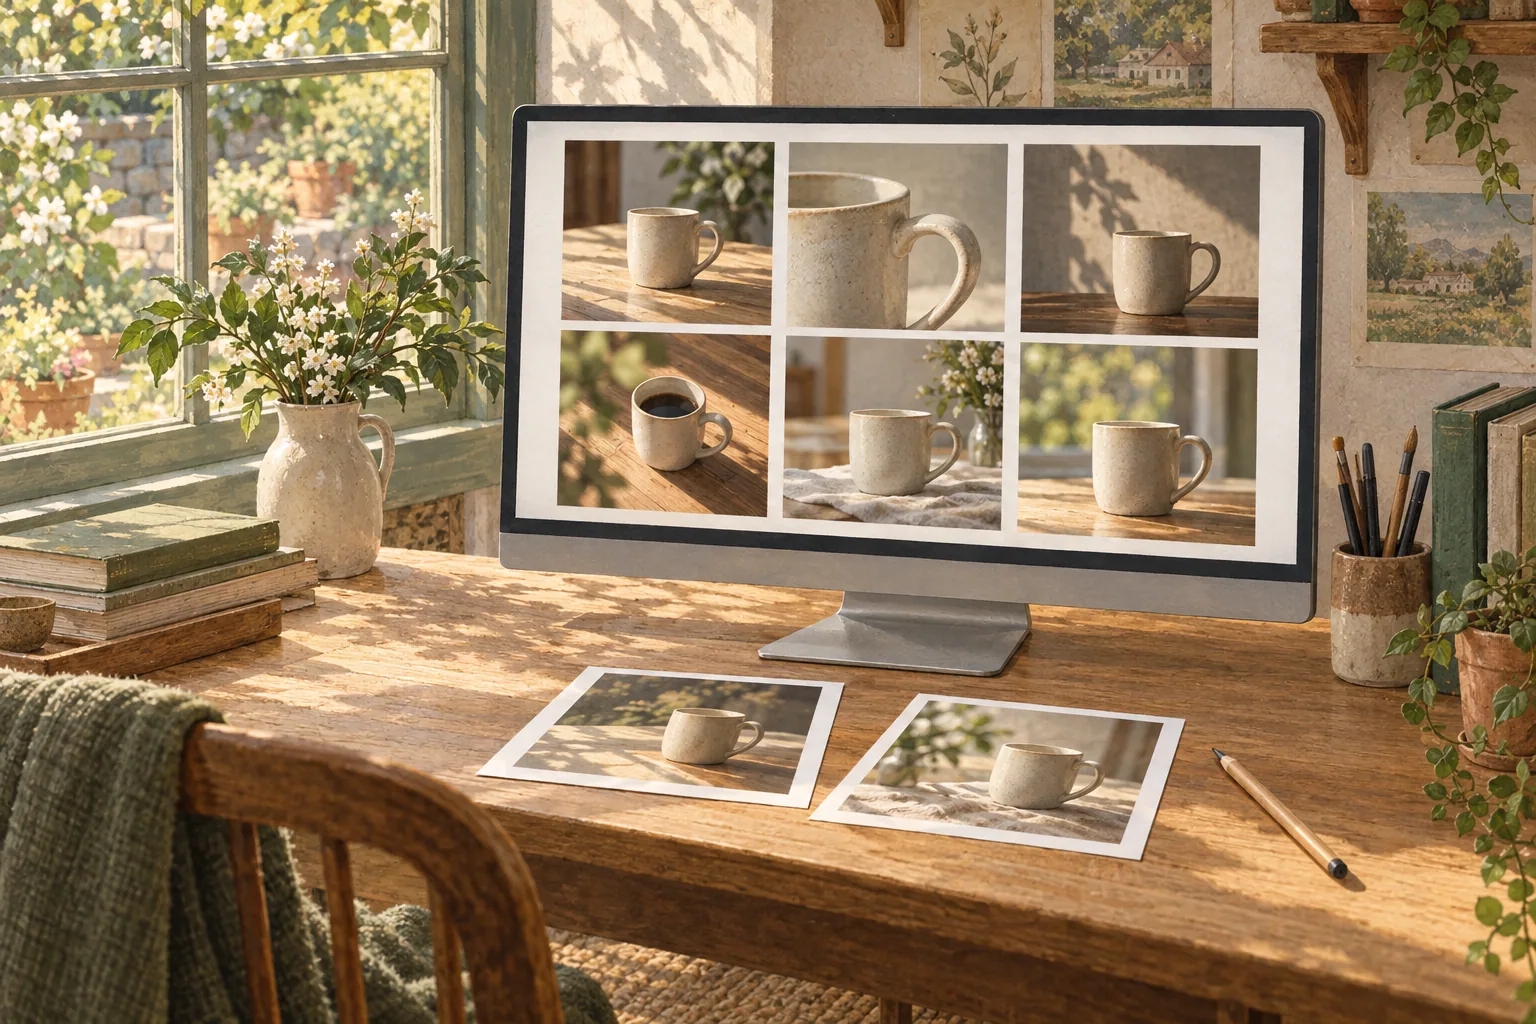
Five and eight steps serve different parts of the same job
The roles become clearer if you compare both versions side by side with the same mug prompt and seed. The 8-step adapter is recommended as the quality-first default; the 5-step version is faster but visibly lower in quality. You can try 5 steps to scan background colors, light direction and mug placement. For a candidate where the rim’s ellipse or the handle’s shape matters, inspect it again with 8 steps or the base model. ‘Useful for quick selection’ does not mean ‘good enough for the final image.’
Each adapter was trained for its own sigma schedule9. Sigma is the noise level at a step; the schedule is the list of how that value changes from step to step. Match the 5-step list to the 5-step file and the 8-step list to the 8-step file. Load only one adapter at a time and keep the LoRA strength at 1.0. Turn dynamic shifting off and set shift=1 so the sigmas are not transformed twice. The scheduler appends the final 0 automatically, so do not add it yourself. CFG10 adjusts how strongly generation follows the prompt condition; this example sets true_cfg_scale=1.0 and uses no negative prompt.
To run it, save the Python block below as pruna_mug.py and execute python pruna_mug.py in a CUDA-enabled Python environment after installing the packages. Begin with 8 steps to confirm the setup produces an image. If you later choose 5, the adapter filename and sigma list change together. Using the same seed, 42, matches the starting noise condition across runs, but does not guarantee identical compositions from both versions.
Editing the background around a reference mug uses the same pipeline. Training covered 1K resolution and up to three reference images. Start with one image you have prepared and a 1024×1024 output, then check whether the instruction to preserve the mug’s shape is followed. More reference images or a higher resolution are separate experiments after this basic edit works.
pip install 'torch>=2.4.0' 'transformers>=5.17' accelerate peft pillow
pip install git+https://github.com/huggingface/diffusers@6256aa7666cedd47443adc8f82da9a10e110b09cimport torch
from diffusers import FlowMatchEulerDiscreteScheduler, QwenImage21Pipeline
STEPS = 8 # 8: quality-first default; 5: faster candidate selection
SIGMAS = {
5: [1.0, 0.94, 6 / 7, 2 / 3, 0.4],
8: [1.0, 14 / 15, 6 / 7, 10 / 13, 2 / 3, 6 / 11, 0.4, 2 / 9],
}[STEPS]
pipe = QwenImage21Pipeline.from_pretrained(
"Qwen/Qwen-Image-2.1", torch_dtype=torch.bfloat16
).to("cuda")
pipe.load_lora_weights(
"PrunaAI/Pruna-Qwen-Image-2.1",
weight_name=f"p_qwen_image_2.1_{STEPS}step_v0.1.safetensors",
)
pipe.scheduler = FlowMatchEulerDiscreteScheduler.from_config(
pipe.scheduler.config, use_dynamic_shifting=False, shift=1.0, shift_terminal=None
)
image = pipe(
prompt=(
"A ceramic mug on a small table, soft window light from the left, "
"warm neutral background, three-quarter view, realistic still life"
),
width=1024, height=1024,
generator=torch.Generator("cuda").manual_seed(42),
num_inference_steps=STEPS, sigmas=SIGMAS,
true_cfg_scale=1.0, use_kv_cache=True,
).images[0]
image.save(f"mug-{STEPS}-step.png")from PIL import Image
source = Image.open("mug-reference.png").convert("RGB")
edited = pipe(
prompt="Keep the ceramic mug shape; change the background to a warm gray studio.",
image=source,
width=1024, height=1024,
generator=torch.Generator("cuda").manual_seed(42),
num_inference_steps=STEPS, sigmas=SIGMAS,
true_cfg_scale=1.0, use_kv_cache=True,
).images[0]
edited.save("mug-edited.png")Read the published 6.3× result with its hardware and workload
The model card reports up to 6.3× faster, the maximum multiplier reported for its test on one H100 80 GB GPU with BF1611 and batch size12 1. It uses the Qwen model card’s example prompt and reports the median of three generations after one warmup. Prompt encoding, denoising and decoding are included; PNG saving, model loading and warmup are excluded. This is therefore not the full wait from starting a run on a computer to saving the file. The figure cannot be used to calculate seconds on a personal device.
The chart runs base Qwen-Image-2.1 at 40 steps with KV cache13 on, while the 5- and 8-step Pruna runs have KV cache off. A KV cache stores some intermediate results for reuse. The chart leaves the LoRA unmerged and uses no CFG, compilation or CPU14 offload15. By contrast, the official quickstart sets use_kv_cache=True for Pruna inference16, so running the preceding example does not reproduce the published chart settings.
For a local comparison, keep the prompt, resolution, seed, runtime17 and save method the same, then inspect both adapters’ candidates. If you time completion, separate model loading and the first warmup from repeated generation, run the same setup several times and compare medians. A CPU timer can stop before CUDA work is complete and report too little time, so do not use an unsynchronized timer. Even a careful result describes that GPU and software setup; it is not a guarantee for other devices.
Inspect the final mug candidate for small defects
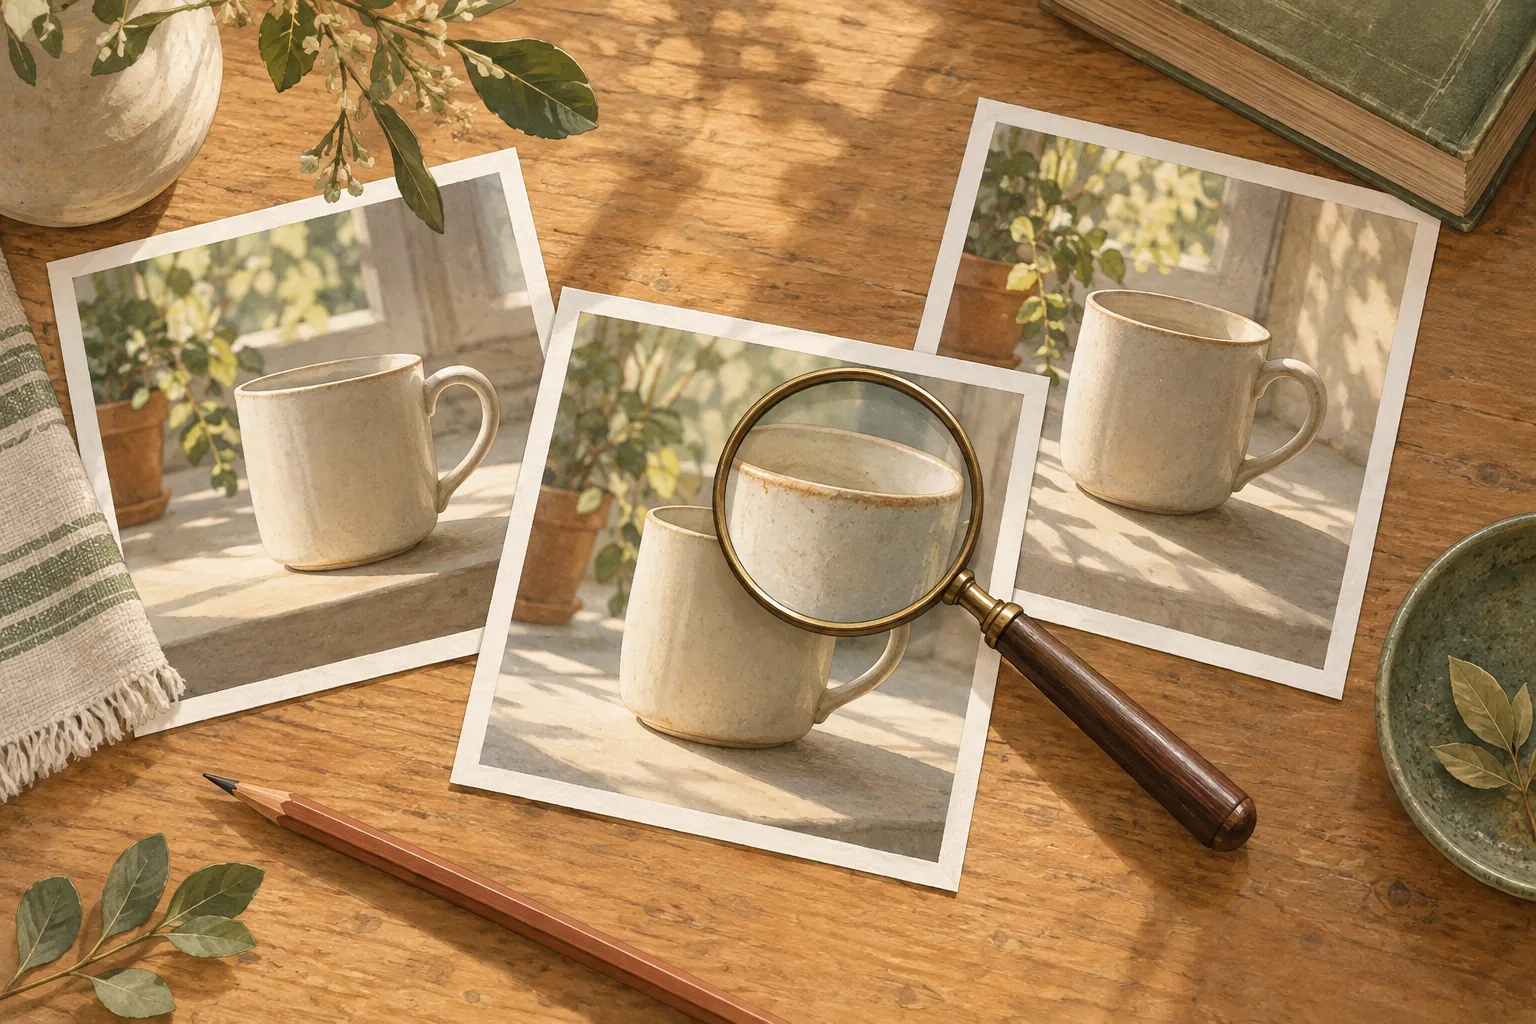
After using 5 steps to narrow the lighting and background choices, generate the selected scene again with 8 steps. Zoom in on the ellipse of the cup opening, the join between handle and body, and the highlights on the glaze. A defect can be hard to notice at a small preview but more visible at the size you will use or after cropping. Be specific in the prompt—for example, ‘soft window light from the left.’ The model card also says that detailed prompts generally give better results.
Eight steps do not mean that the adapter has reached base-model quality. The v0.1 notes say its overall quality is still below the base model, with a more noticeable drop at 5 steps. If fine detail matters in the final image, compare the same scene with the original 40-step base model as well. That may take longer, but it gives you a direct basis for deciding which version suits the job. The published 2K chart shows speed only; it does not validate 2K image quality. Training covered 1K resolution, so 1024 square is the appropriate place to start a comparison.
Keep the CUDA example separate from Mac runtime paths
The official quickstart requires a CUDA GPU, and the code above uses .to("cuda") and a CUDA random-number generator. This recipe is therefore for a CUDA setup. The adapter card does not confirm Mac Metal18, MLX19 or GGUF20 integrations, but that does not prove other implementations or conversion paths impossible. If you are considering another runtime, check whether that project supports this Pruna adapter and version.
The site’s /generate page shows estimated generation times for the base Qwen-Image by hardware, not for the Pruna adapter. Fewer steps may help when evaluating candidates across several lighting and background choices. If you have only a few candidates and can wait, using the base model directly is also reasonable. Whichever route you choose, inspect the selected one or two images from the 8-step adapter and 40-step base model to decide whether their detail is adequate for the final use.
Check the weight terms separately from the evaluation workflow
The Pruna adapter derives from Qwen-Image-2.1, and its model card and included license point to the Qwen Research License. Section 1 defines non-commercial as research or evaluation, and Section 2 limits the granted use to those non-commercial purposes. It says a separate commercial license is required for commercial use. The article’s copyright and the license for the model weights are separate matters; the fact that an article is publicly available does not expand the allowed use of the weights.
A non-commercial evaluation comparing mug scenes is therefore not the same stated purpose as creating images for products to sell. This guide reports the distinction written in the license; it is not legal advice. Before downloading model files or distributing outputs, read the full license, the current official card and any separate permission that may be needed. Whether the image-generation workflow works and what purpose the result may be used for are different questions.
Terminology notes
LoRA — A method that learns and applies small additional weights to adapt a base model. The adapter is not a standalone model; uses include style adaptation and few-step generation.
Back to the textCUDA — A software platform for general-purpose computing on NVIDIA GPUs. Programs built for CUDA are not guaranteed to run unchanged on other GPUs.
Back to the textDecode — For an LLM, this is the stage that generates output tokens after input processing. For a VAE or audio codec, decoding can mean reconstructing the original form from a compressed representation or encoded data.
Back to the textGPU — A processor designed to handle many calculations in parallel. It performs model computations during AI inference.
Back to the textCheckpoint — A file containing saved model weights and related state. Versions or tasks in one model family may use different checkpoints.
Back to the textPipeline — A sequence of processing stages from input to output. Different models or tools may be used at each stage.
Back to the textVAE — Short for Variational Autoencoder. It can encode input into a compact latent representation or decode that representation into an output.
Back to the textVRAM — Memory used by a graphics card’s GPU for model weights and intermediate values. It is distinct from system RAM.
Back to the textSigma schedule — The sequence of noise levels used across generation steps. Values can differ even at the same step count; an adapter trained for a particular schedule should use that schedule.
Back to the textCFG — A technique that combines conditioned and unconditioned predictions to adjust how generation follows its input. Distilled models may require it to be disabled; recommended values vary by model.
Back to the textBF16 — A 16-bit floating-point format for storing and computing model values. Support depends on the hardware and runtime.
Back to the textBatch size — The number of inputs or requests processed together in one batch. Increasing it can affect both throughput and memory requirements.
Back to the textKV cache — Memory that stores attention keys and values from earlier tokens for reuse during later token generation. Its size depends on context length and batch size.
Back to the textCPU — The central processor that executes general-purpose program instructions. AI workloads may divide work between it and other processors such as GPUs.
Back to the textOffloading — Moving some model data from GPU memory to system RAM or storage when capacity is limited. This adds data transfer.
Back to the textInference — The process of using a trained model to compute an output for an input. Here, local inference means running the model on the user’s device.
Back to the textRuntime — The software environment that provides facilities needed while a program runs. In local AI it can also refer to a model execution engine; a GPU runtime library and a complete serving app are different components.
Back to the textMetal — Apple’s low-level technology for graphics and parallel GPU computation. It is not itself a model-selection or chat app.
Back to the textMLX — A machine-learning framework developed by Apple. On Apple silicon it uses unified memory and Metal; separate Linux backends are also available. Model and feature support depends on the MLX-based tool.
Back to the textGGUF — A file format for model data, widely used by llama.cpp-based tools. The format alone does not guarantee compatibility or speed on particular hardware.
Back to the text