
Model setup recipes
Last updated
How do you start unlocking CMP 170HX memory on Linux?
Match the supported driver, kernel headers and Secure Boot first; then verify the profile and reboot.
cmpunlocker patches the NVIDIA open kernel module on Linux to change the memory configuration of a CMP 170HX. After meeting the repository and driver requirements, run the installer and reboot; the driver then reports the capacity for the selected profile. Start with automatic detection and verify the reported capacity.
Record the driver and kernel versions first. After installation, reboot and check memory capacity and the PCIe link. If something goes wrong, use the installation log and removal procedure to roll back.
Check the Linux and driver prerequisites first
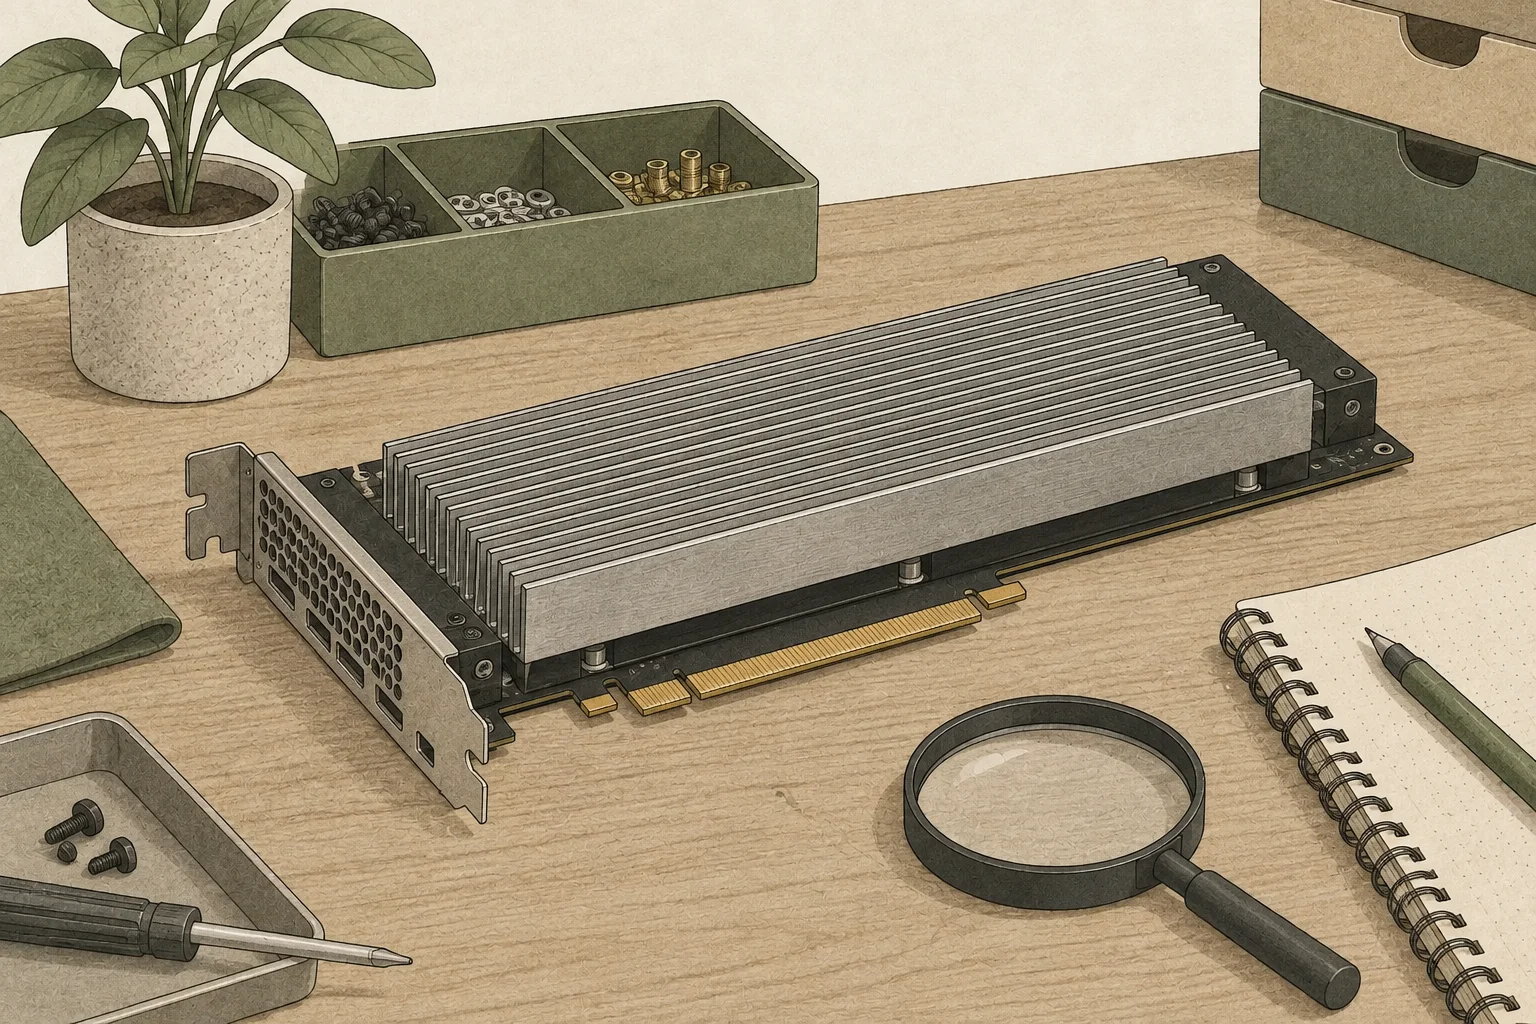
The README requires Linux x86-64, root access, an NVIDIA CMP 170HX, a supported driver version of 610.xx.xx or later that includes NVIDIA open kernel modules, libraries and firmware from the same driver branch, and headers matching the running kernel. Python 3 is also used during the build to select 8GB or 10GB memory geometry. Package names vary by distribution, so use your distribution's instructions for installing kernel headers.
Check the README's supported versions rather than installing an arbitrary newest driver. The current README lists 610.xx.xx or later and 615.78.08. Also confirm that the driver libraries and firmware come from the same branch and that the headers match the running kernel shown by uname -r.
Secure Boot must be disabled. The patched kernel modules are unsigned and will not load while Secure Boot is enabled. Change the setting in BIOS/UEFI, save it, and verify the state after Linux boots. The first installation also downloads the matching NVIDIA open kernel module sources for the build, so network access is required.
Choose a memory profile for the card's rank
The default installation reads the card information and detects a profile automatically. Keep automatic detection for the first run. According to the maintainer's README, the 8gb profile for an 8GB card configures 64GB, while the 10gb profile for a 10GB card configures 40GB. Some 8GB single-rank cards may expose 32GB. If the shipped capacity and rank are unclear, check the card information before forcing a profile.
Use the 8GB or 10GB override only after confirming that the card matches that profile. An incorrect profile can make the geometry used during installation differ from the card's actual configuration. Keep a note of the installation output and compare it with the post-reboot result to locate failures.
| Shipped configuration | Profile | README outcome |
|---|---|---|
| 8GB card | Auto-detect or 8gb | 64GB configuration; some single-rank cards expose 32GB |
| 10GB cards | Auto-detect or 10gb | 40GB configuration |
Clone the repository and run the installer
On the Linux host that meets the prerequisites, clone the maintainer's repository, enter the project directory and run the default installer. This patches the NVIDIA modules and builds modules for the current kernel, so leave the terminal open until it finishes.
git clone https://github.com/amoghmunikote/cmpunlocker.git
cd cmpunlocker
sudo ./install.sh
Override the memory profile only when needed
If the shipped memory and rank show that you need a particular profile instead of automatic detection, add --profile to the installer command. Choose the 8GB profile for an 8GB card and the 10GB profile for a 10GB card. Use the option names exactly as shown in the repository README. To switch profiles after an installation, remove the existing setup before applying the new profile.
sudo ./install.sh --profile=8gbsudo ./install.sh --profile=10gbVerify memory and the PCIe link after reboot
When the installer finishes, reboot the system. After boot, check the GPU1 name, driver version and total memory in nvidia-smi. If an expected 64GB profile on an 8GB card reports 32GB, it may be a single-rank board; recheck the hardware information and choose a supported profile from the README. The 10GB-card profile should report 40GB.
The second command reports the PCIe link generation and width. If the motherboard has multiple slots, compare the result with its lane-sharing table. PixelML tested Gen2; Gen3 was fuse-blocked on all four cards in its sample. If the link differs from expectations, check the card, slot, riser and BIOS settings one at a time.
Even with the expected capacity and driver, test model execution separately. Confirm that your runtime2 supports GA100 kernels, load the model, and send a short prompt3 followed by a request at your usual context length4. If memory allocation fails, retry with a shorter context and runtime buffers; if the kernel module fails to load, check the driver branch, kernel headers and Secure Boot state.
nvidia-smi
nvidia-smi -q -d PCI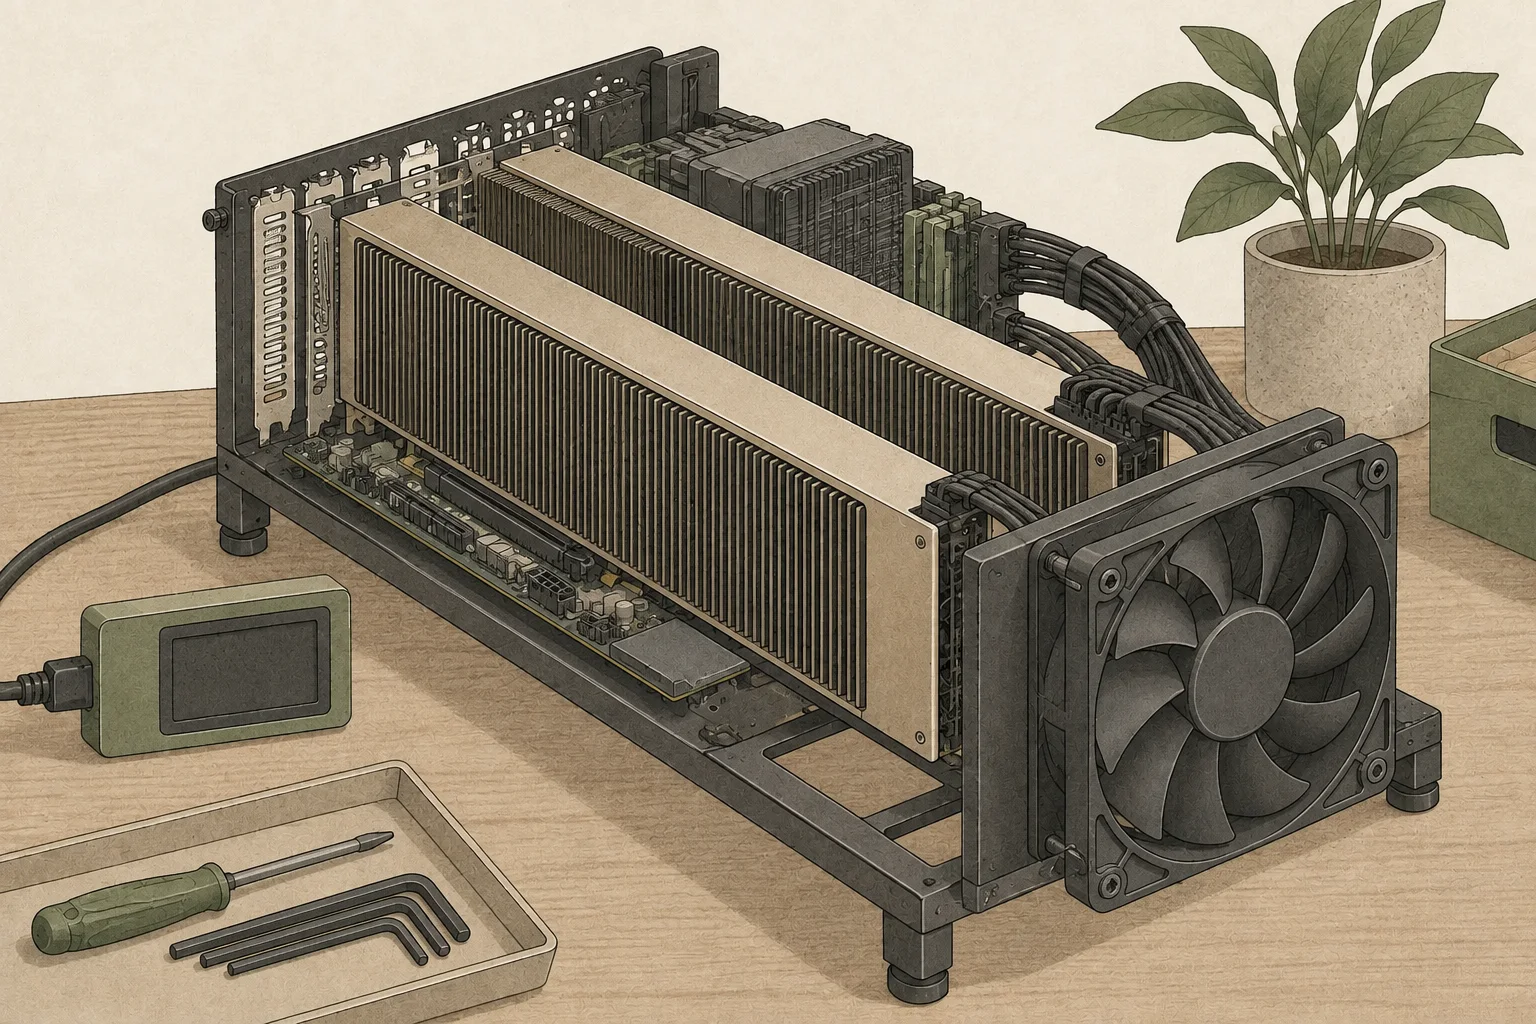
When a problem occurs, start at the first failed step
If install.sh cannot find kernel headers or sources, check the running kernel with uname -r and confirm that headers for that same version are installed. If the build cannot download driver sources, verify network connectivity and repository access for the first installation. If the module will not load, check Secure Boot in BIOS/UEFI and verify that the driver, libraries and firmware use the matching branch.
If nvidia-smi cannot find the GPU, confirm that you rebooted and inspect the error message and installation log for the first module build or load failure. If less memory appears than expected, check shipped capacity, memory rank and the auto-detected profile. Comparing the card details before reinstalling with a suitable profile is more useful than repeatedly trying arbitrary overrides.
Roll back with the removal script and a reboot
To return to the original driver-module state, run the removal script from the cmpunlocker directory and reboot. The --yes option proceeds without a confirmation prompt, so finish any work using the GPU first. After reboot, check nvidia-smi to confirm that the GPU is detected and the memory configuration has returned to its previous state.
sudo ./remove.sh --yes
sudo rebootTerminology notes
GPU — A processor designed to handle many calculations in parallel. It performs model computations during AI inference.
Back to the textRuntime — The software environment that provides facilities needed while a program runs. In local AI, it can also refer to a model execution engine.
Back to the textPrompt — The input text sent to a model. For generative models it describes the desired result and strongly shapes the output.
Back to the textContext window — The token span of input and generated content a model can handle in one request. The supported limit and memory use depend on the model and runtime settings.
Back to the text
Frequently asked questions
- What should you check first in this article?
- cmpunlocker patches the NVIDIA open kernel module on Linux to change the memory configuration of a CMP 170HX. After meeting the repository and driver requirements, run the installer and reboot; the driver then reports the capacity for the selected profile. Start with automatic detection and verify the reported capacity.
- How much memory does it need?
- The README requires Linux x86-64, root access, an NVIDIA CMP 170HX, a supported driver version of 610.xx.xx or later that includes NVIDIA open kernel modules, libraries and firmware from the same driver branch, and headers matching the running kernel. Python 3 is also used during the build to select 8GB or 10GB memory geometry. Package names vary by distribution, so use your distribution's instructions for installing kernel headers.
- When is it better not to choose this?
- Check the README's supported versions rather than installing an arbitrary newest driver. The current README lists 610.xx.xx or later and 615.78.08. Also confirm that the driver libraries and firmware come from the same branch and that the headers match the running kernel shown by uname -r.